Acrylic Transparency: Crystal Clear Creations in Acrylic Paint
Acrylic paint is a versatile and popular choice for artists and DIY enthusiasts due to its wide range of colors, fast drying time, and water-based formula. One lesser-known fact about acrylic paint is that it can be used to create transparent or semi-transparent effects, which can add depth and dimension to your artwork. In this article, we will discuss step by step how to make acrylic paint transparent and create crystal clear creations.
Materials Needed
- Acrylic paint in desired colors
- Propylene glycol or xanthan gum (for making the paint transparent)
- Water
- Containers for mixing
- Paintbrushes or other painting tools
- Palette knife (optional)
- Paper towels or rags
- Canvas, wood, glass, or other surfaces for painting
- Protective gear (e.g., gloves, apron)
- Optional: Sealant or varnish for protecting the finished piece
Step 1: Prepare Your Workspace
Before starting, ensure that you have a clean and well-ventilated workspace. Wear protective gear such as gloves and an apron to keep yourself safe while working with paint. Cover your work surface with paper towels or drop cloths to protect it from any spills or drips.
Step 2: Choose the Right Medium
To make acrylic paint transparent, you’ll need to use a medium that can dissolve the paint without significantly altering its color. Two common options are propylene glycol and xanthan gum. Both can be found at most craft stores or online.
Propylene glycol is a clear, odorless liquid that is commonly used as a food additive and in various industrial applications. It is effective at thinning acrylic paint and creating a transparent finish. Xanthan gum, on the other hand, is a natural thickener derived from fermented sugars. When mixed with water and applied to acrylic paint, it creates a glossy, transparent layer.
Step 3: Mix the Paint and Medium
In a container, mix equal parts of the chosen medium (propylene glycol or xanthan gum) and water. This mixture will act as your paint thinner. Then, slowly add small amounts of the thinner to your acrylic paint, stirring continuously until you achieve the desired level of transparency. Be patient during this process, as adding too much thinner at once may cause the paint to become too runny or lose its color.
Step 4: Experiment with Different Techniques
Once you have achieved the desired level of transparency, experiment with different techniques to create unique effects. Some ideas include:
- Layering multiple transparent colors to create depth and dimension.
- Applying the transparent paint over opaque colors to give them a glass-like appearance.
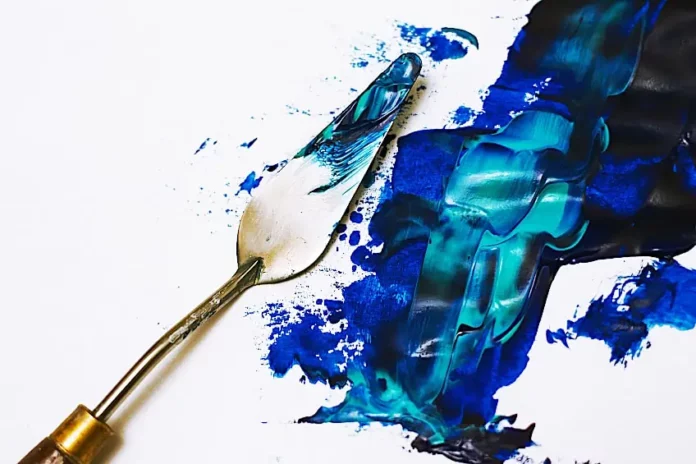
- Using a palette knife to create textured, marbled effects.
- Mixing in pigments or micas to add shimmer and sparkle to your transparent paint.
Step 5: Allow the Paint to Dry and Seal (Optional)
After completing your transparent artwork, allow it to dry completely according to the manufacturer’s instructions for your specific brand of acrylic paint. Once dried, you may opt to seal your creation with a clear sealant or varnish to protect it from damage and ensure long-lasting clarity.

Creating transparent acrylic paint is a fun and versatile technique that can elevate your artwork to new heights. By following these steps and experimenting with different mediums, techniques, and finishes, you can create stunning crystal clear creations that capture light and imagination alike. So grab your brushes, put on your protective gear, and get started on your next masterpiece!


